
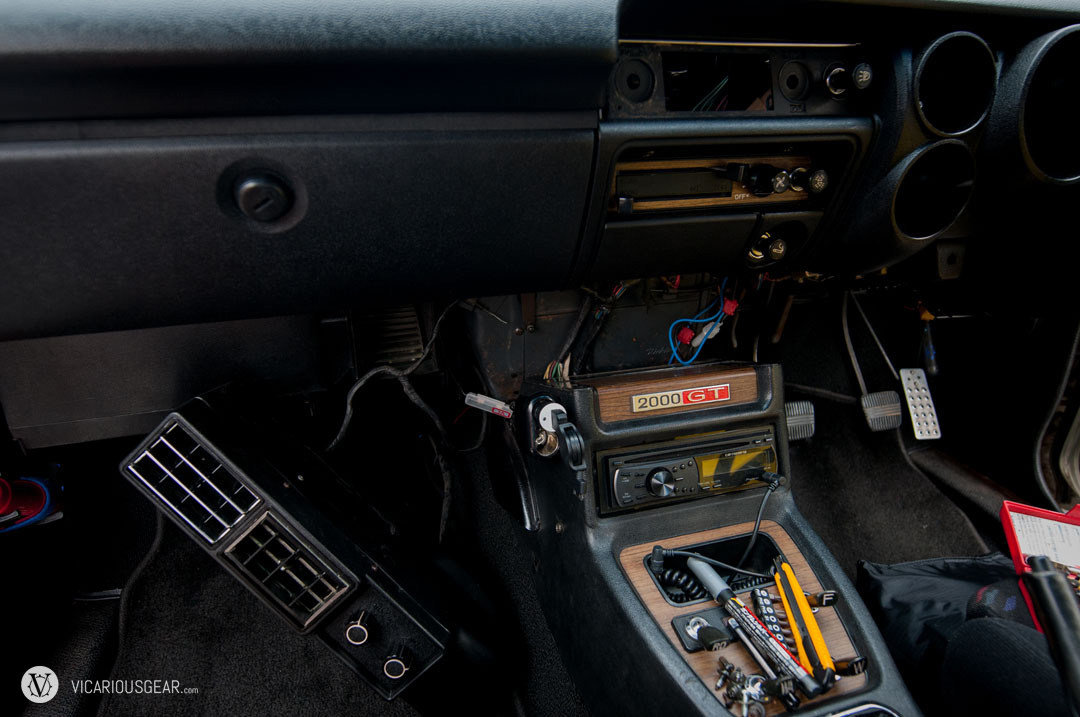
When I picked up the Skyline a few months ago, it came with a semi hacked up control panel in the dash. The previous owner installed an aftermarket stereo in the storage bin and decided that the original radio would make way for a plexiglass panel and bracket to mount his navi and cell phone to. While I admire his DIY style, this particular mod made a big mess of the area with gorilla glue slathered around and holes drilled everywhere. The worst part was that the original faux wood grain panel was nowhere to be found.
After searching on Yahoo Japan for a while, I found a pair of panels and an original radio for 4000 Yen (~$40 USD). For the price, I couldn’t resist cleaning up the area and getting rid of the gaping hole left by the radio removal. Getting a few spare switches and control knobs was an added bonus.
I found out the original dash speaker is still in place but I won’t bother seeing if it still works until I get a RetroSound head unit to install. The original radio is just mounted there for looks until then.
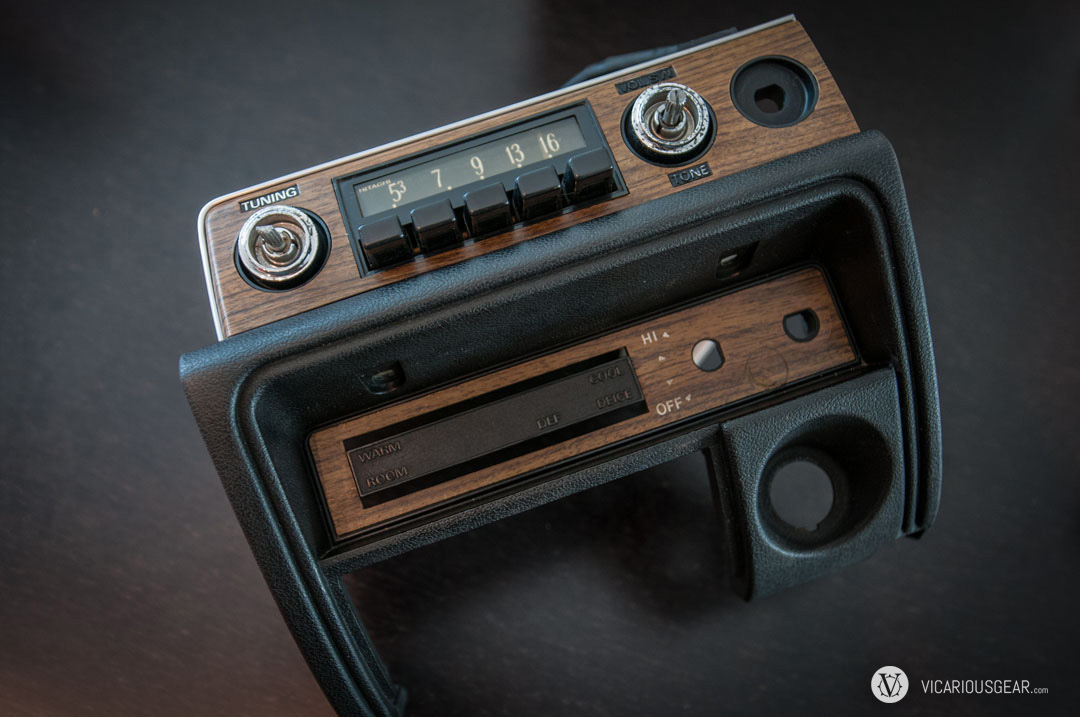
New center control panel with radio and all the wood grain panels intact.
After 40 odd years of wear and tear, the silver lettering was mostly gone.
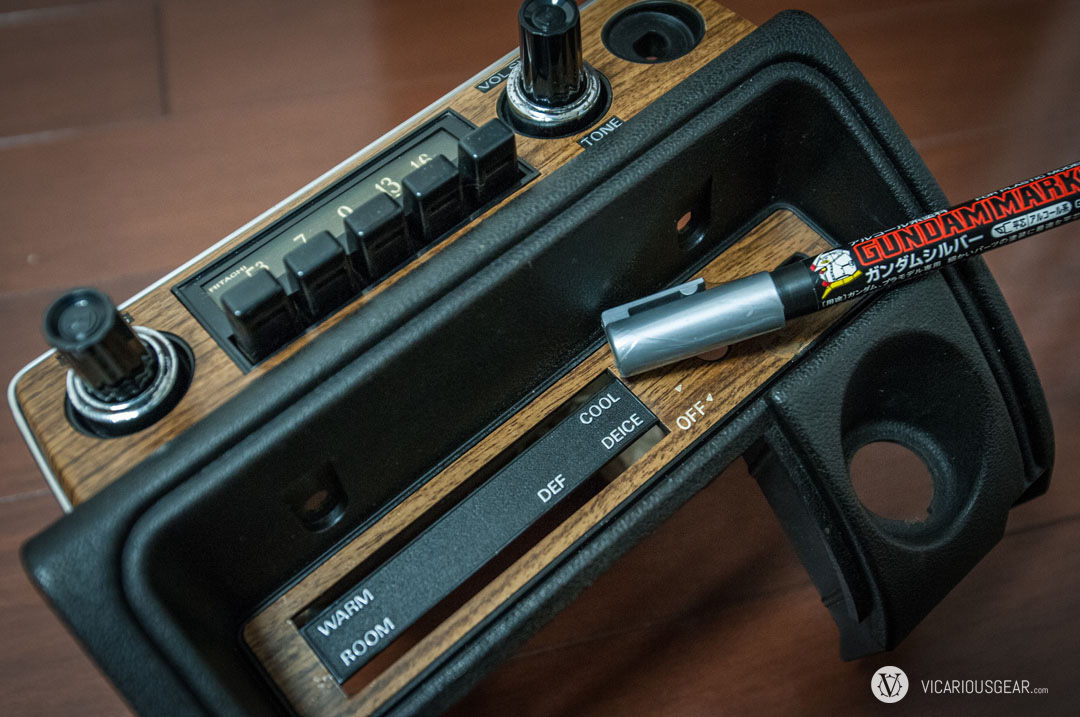
Gundam marker to the rescue! I decided to paint the HVAC markings too since the black on black is a bit impossible to see at night.
Taking the dash apart. Aircon vents had to come out to gain access to some bolts.
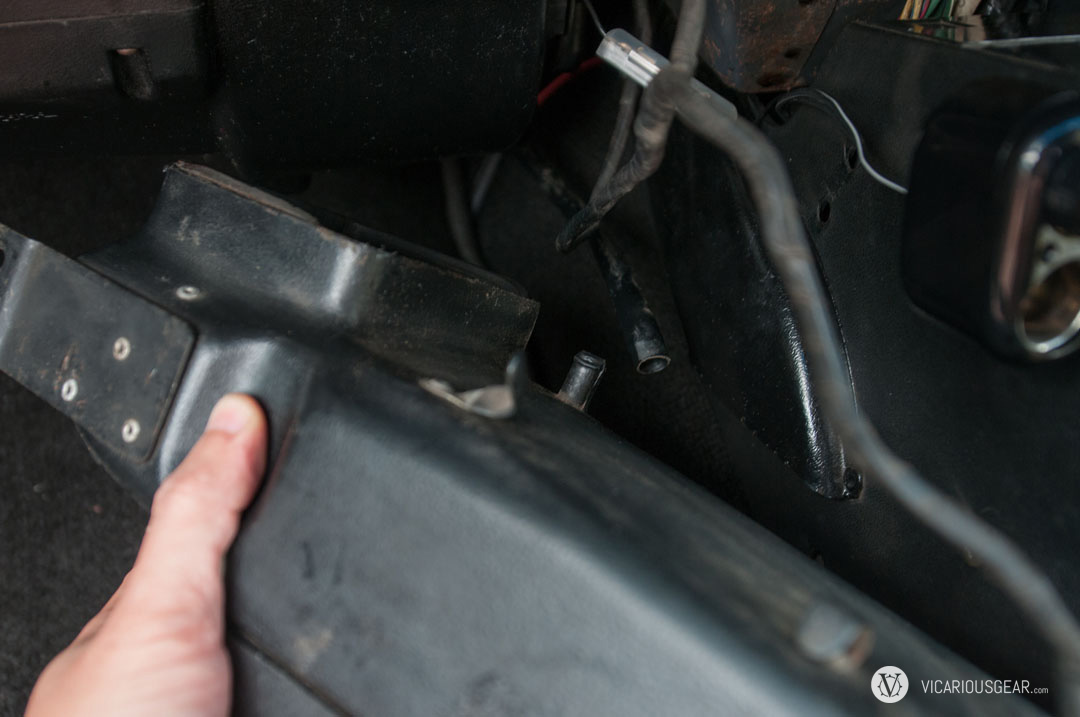
Disconnecting the hose out back allowed the assembly to slide to the side of the center console and out of the way.
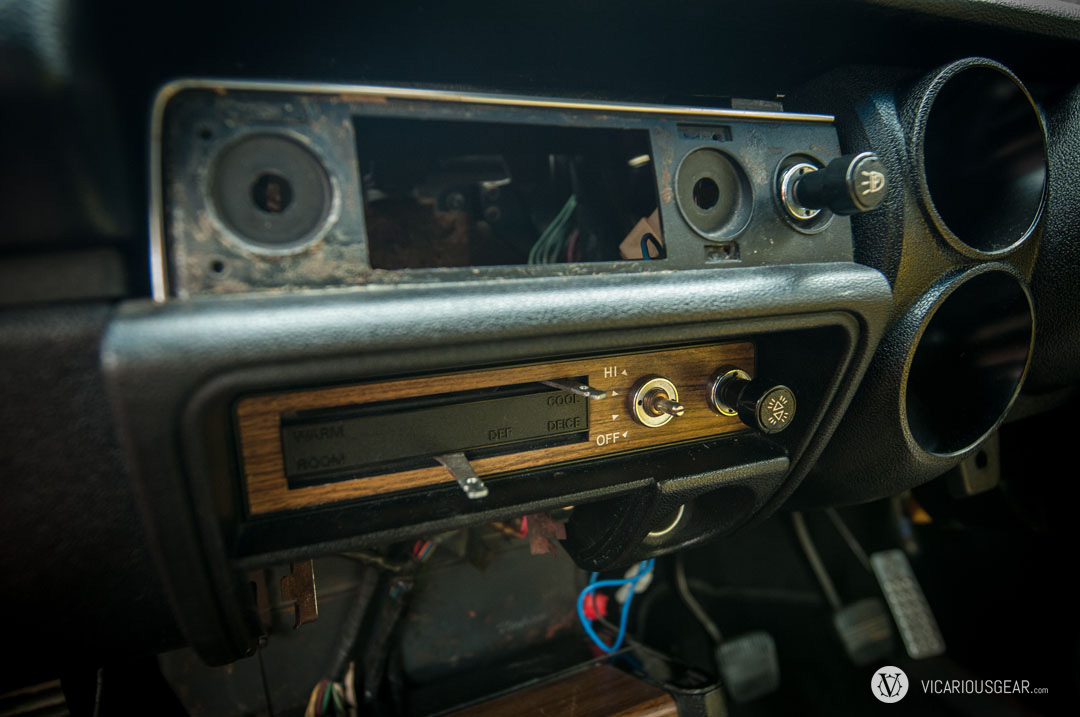
Time for the drilled and crusty radio panel to come out.
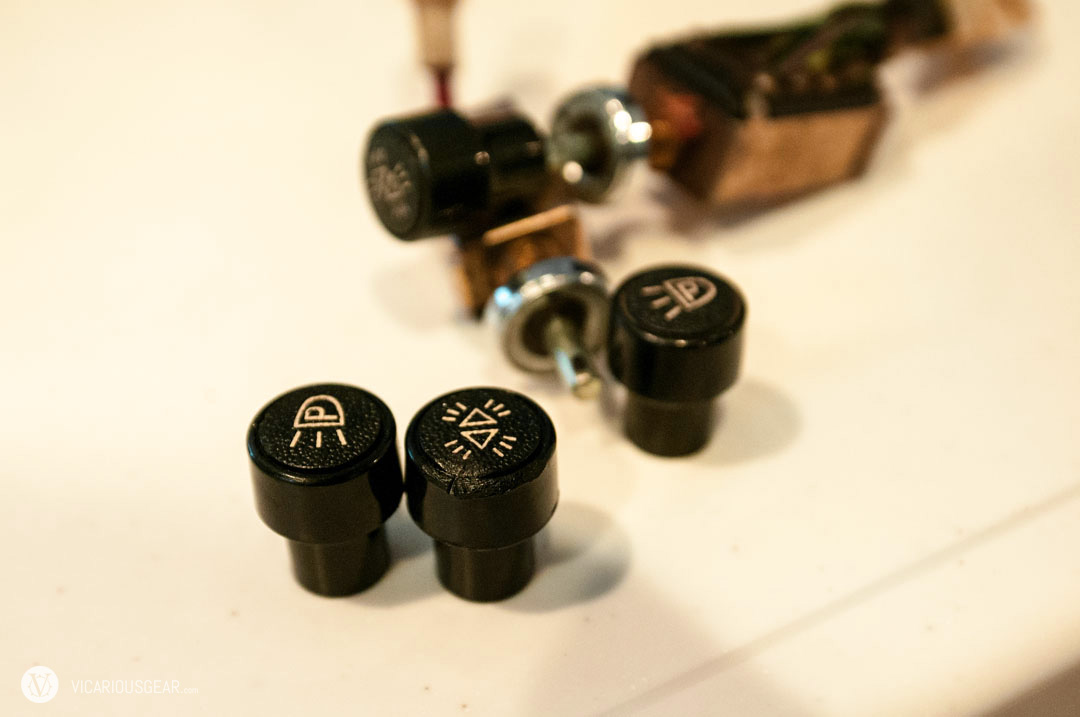
These two knobs are actually held in by a spring detent. Took me a while to figure out how to remove them since I was afraid to break one of the old switches.
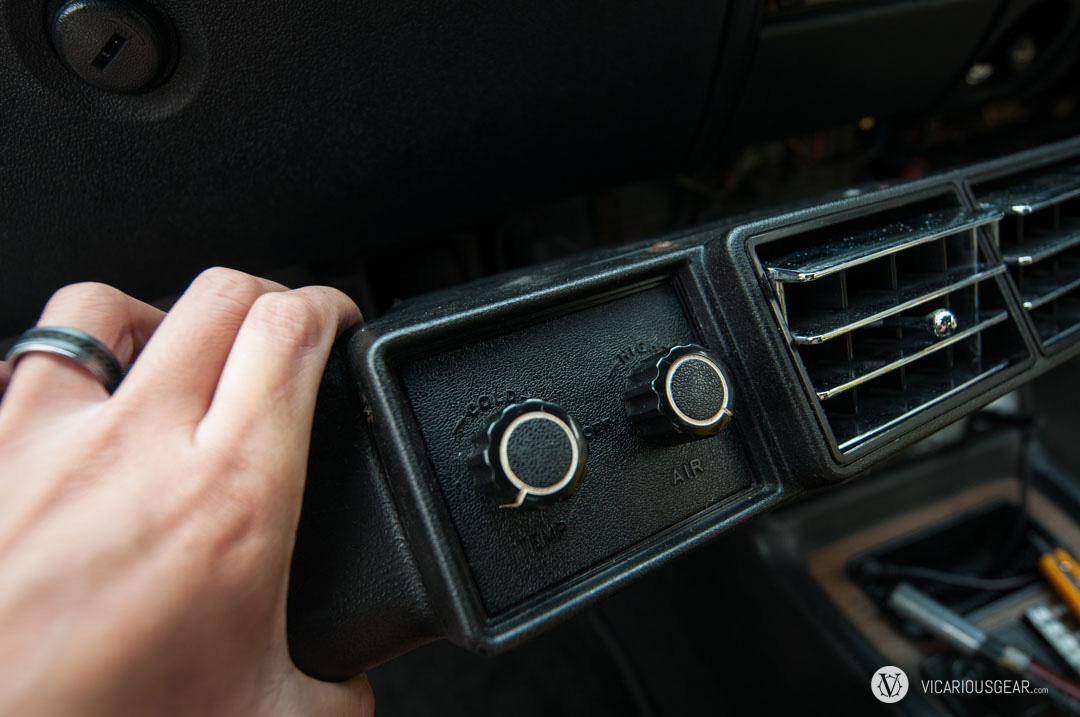
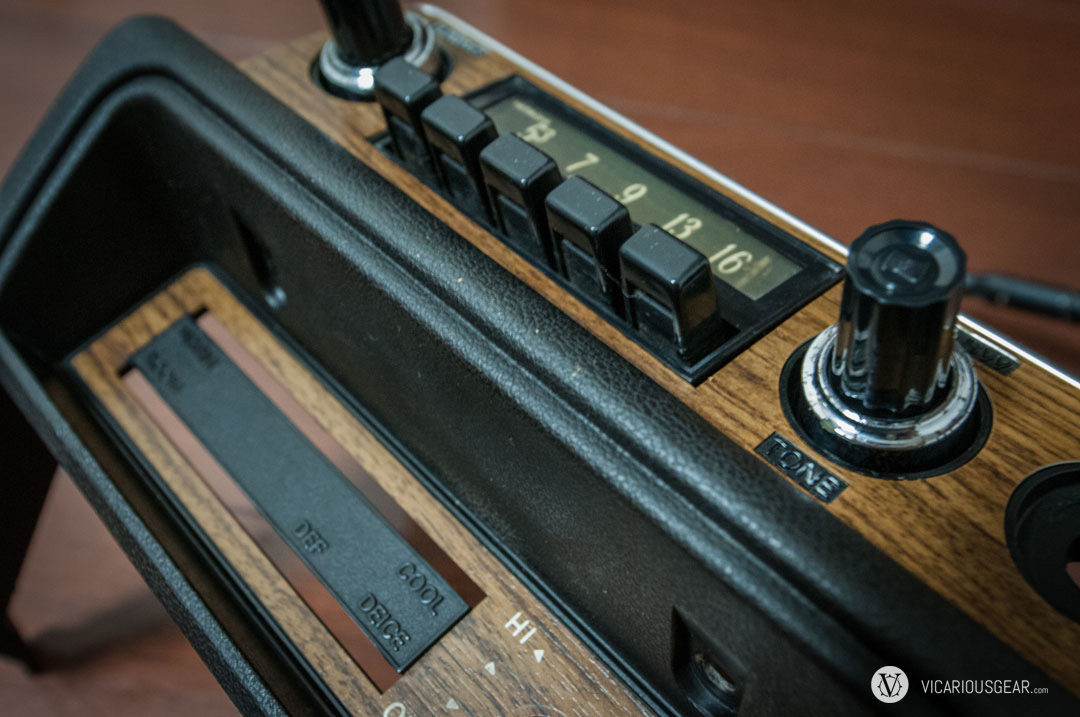
The temperature and airflow controls were dark as well…
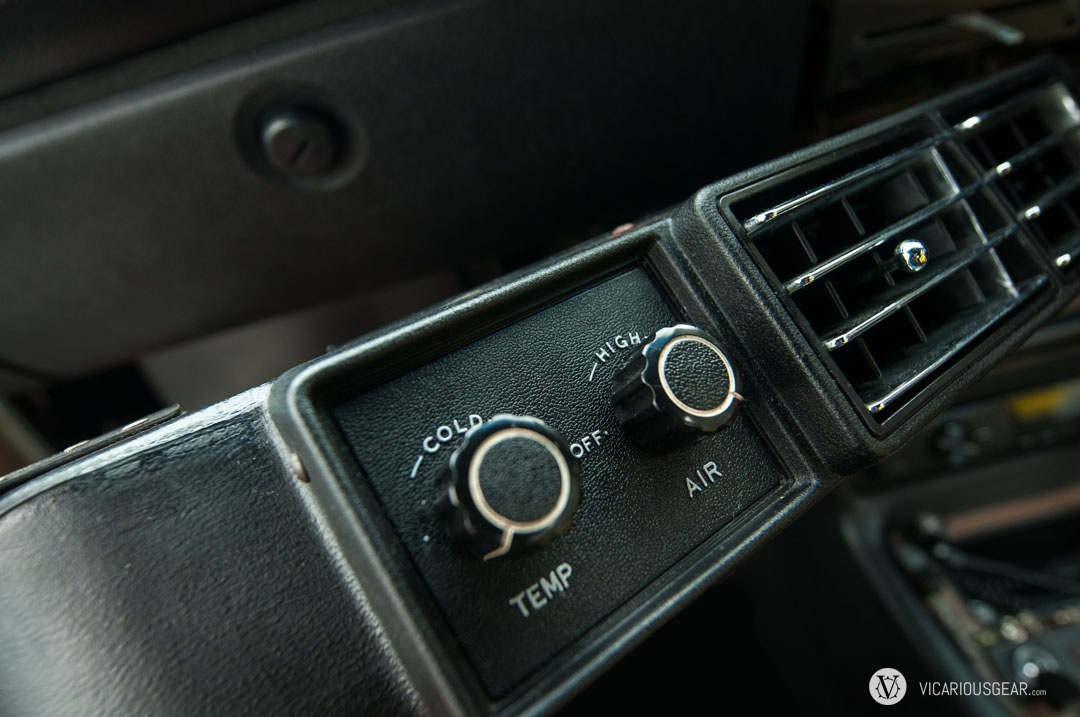
So the silver Gundam marker was put to work again.
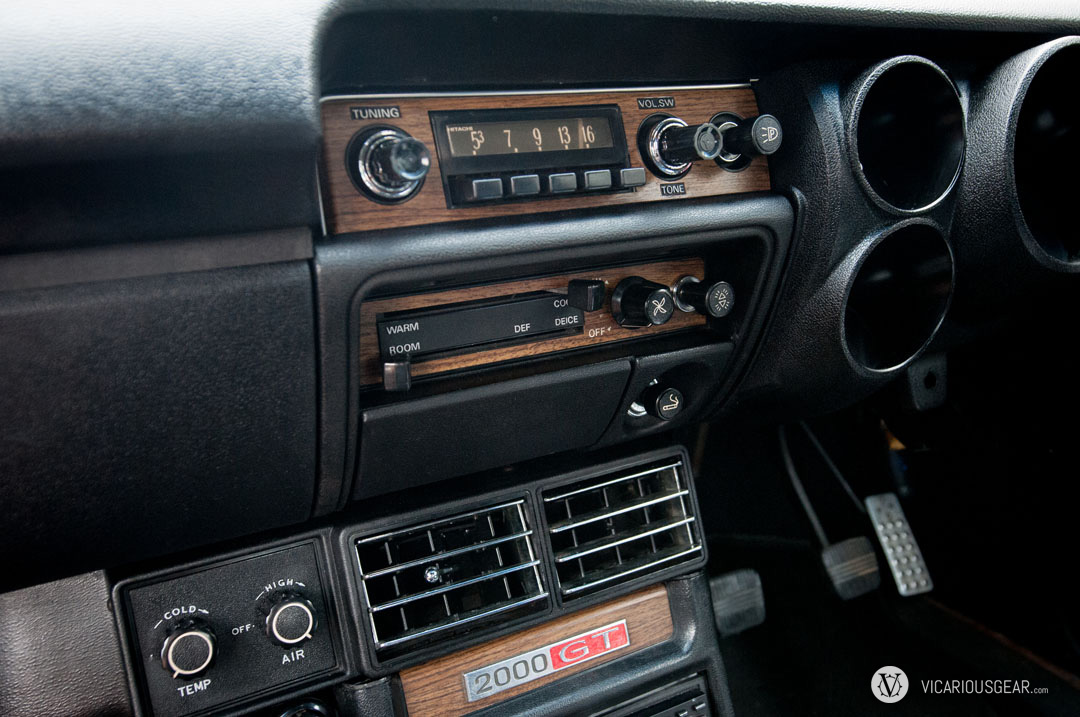
Humpty dumpty back together again and looking much more complete.

whoah this blog is magnificent i love reading your articles.