
Since I’m a fan of modern technical innovations and the whole pro-touring resto-mod scene back in the USA, I decided I want to take some cues from those car builders when approaching parts modification in the Hakosuka.
The Skyline came with an interior that is in decent shape where it counts, but has a variety of non original items like the seats, seat belts and door panels. All the better for me, since I would feel bad removing pristine vintage pieces. I found the largest eyesore to be the Recaro SR2 seats with infamous “confetti” upholstery. Recaro has always made some of my favorite seats in terms of comfort, but some of their textile design from the 80s and 90s was horrendous. This led me on a search for seating options that fit my style.
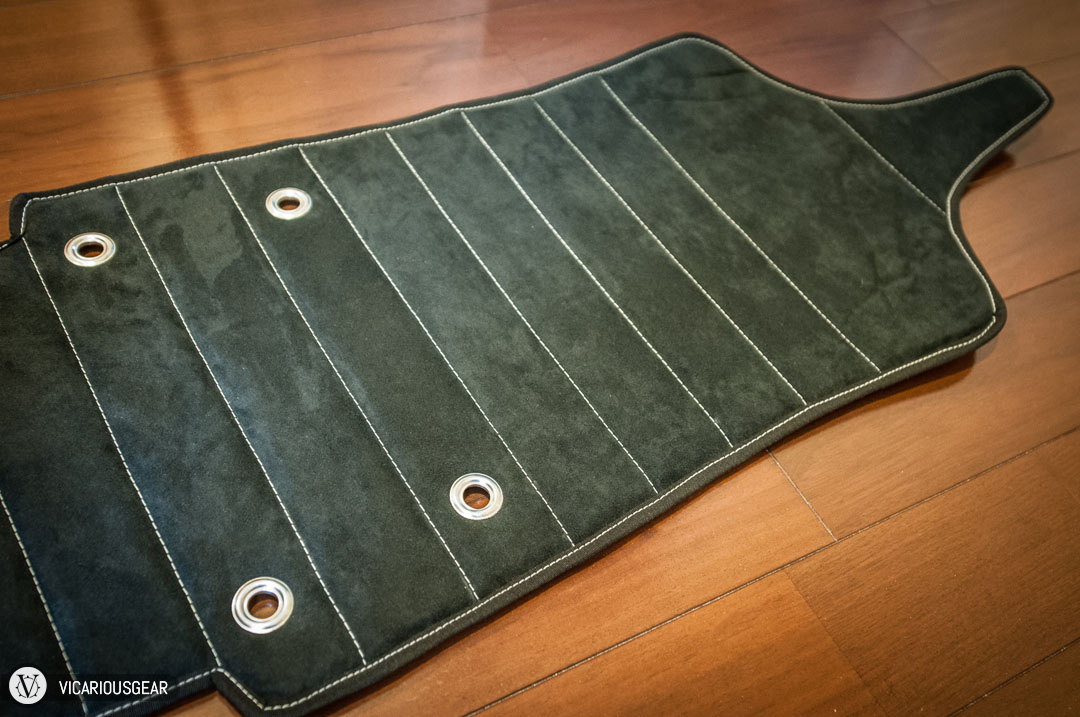
I ended up deciding to try some dry carbon shells. While I’m a fan of nice carbon parts in most settings, I knew the seats could look completely out-of-place without a hint of retro styling cues. Drawing from the well-known look of vintage Datsun/Nissan and Ford GT40 sports seats, I requested some custom stitching for the alcantara covered seat pads. From that base, I planned to set my own grommets into them to complete the look.
Losing twenty pounds of weight when compared to the Recaro seat and rail is an added bonus.
Here is a quick look at the install process and a pic I took after my first test ride with the driver’s seat in place. Better pictures to come after I log some more miles in the seat and finish the other side.

The Recaro SR2 Confetti centered seats that came with the car…
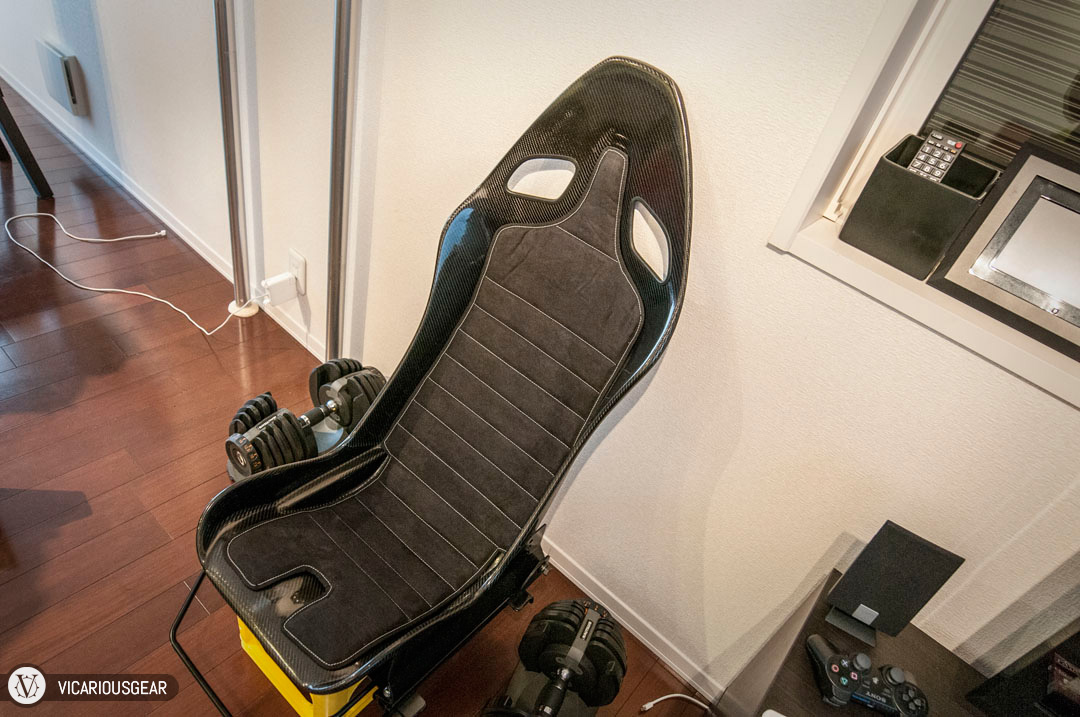
Here I’m using an plastic Asahi bottle bin to prop the seat and bride rails up and level against the wall. I opted to drill the mounting holes myself so I could customize the seat angle to my liking. This was definitely a case of measure twice (or ten times) and cut once.
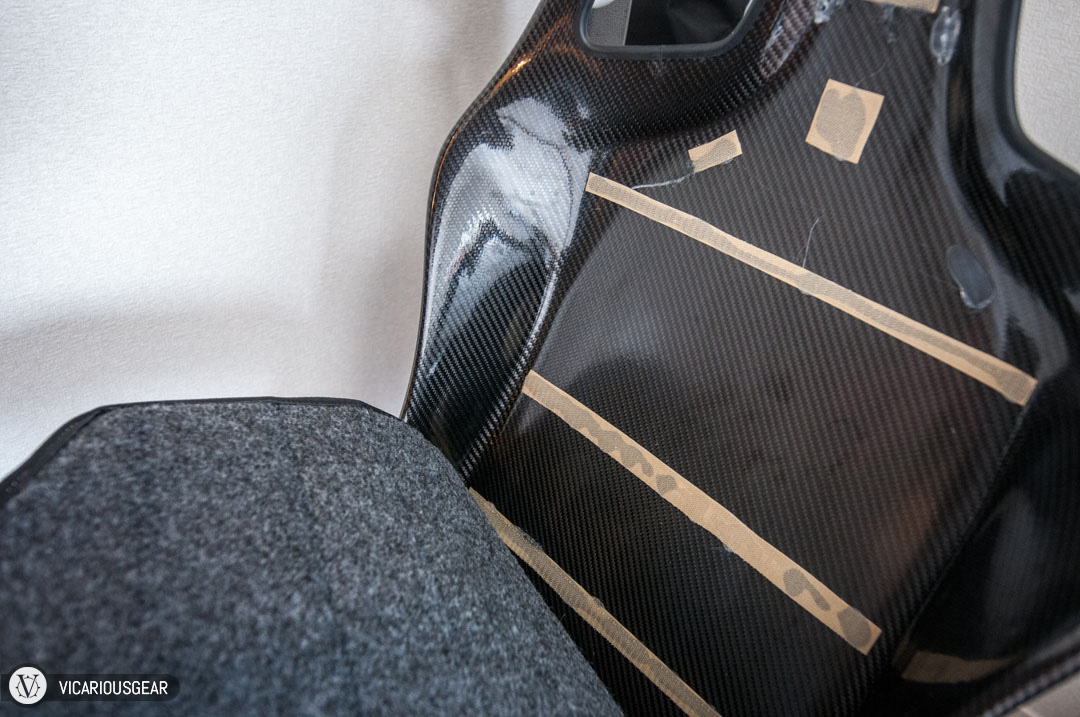
First order of business after drilling the mounting holes was to pull off the thin padding from the carbon shells.

After considering the grommet locations, I marked the spot for the hole.
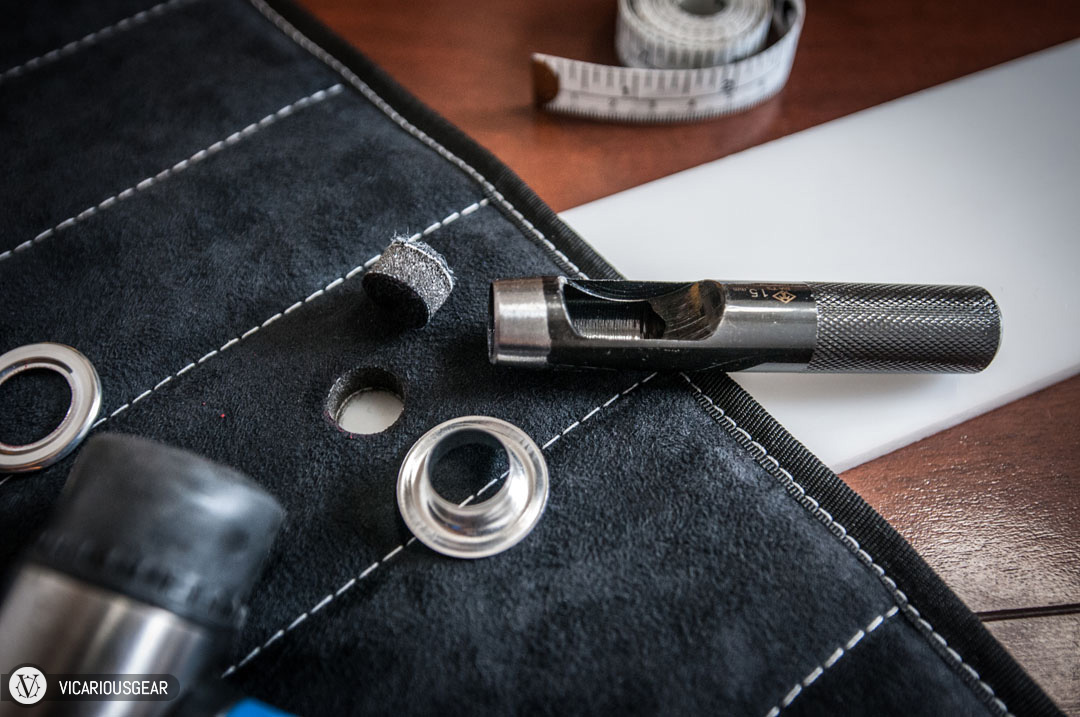
A 15mm hole punch made quick and clean work of the cut.
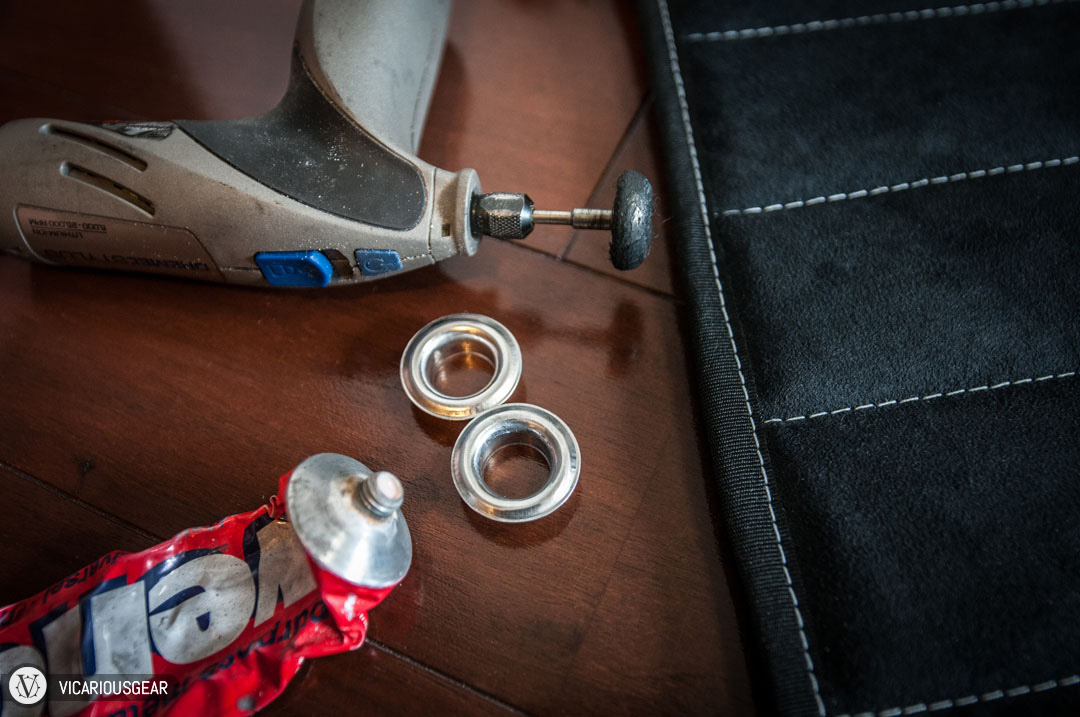
I decided to give the grommets a polish with my Dremel tool before mounting.
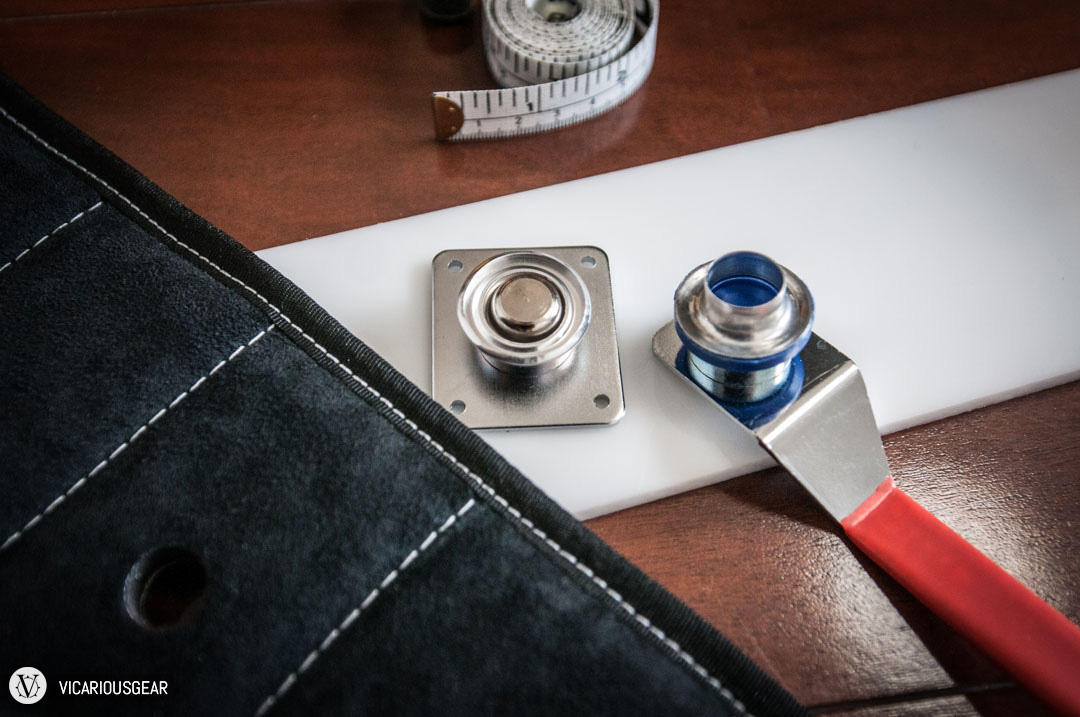
Pictured here are the dies that hold each half of the grommet. After placing the grommet through the hole, you give the upper die a few hits with a mallet…
then the grommets are nicely set.
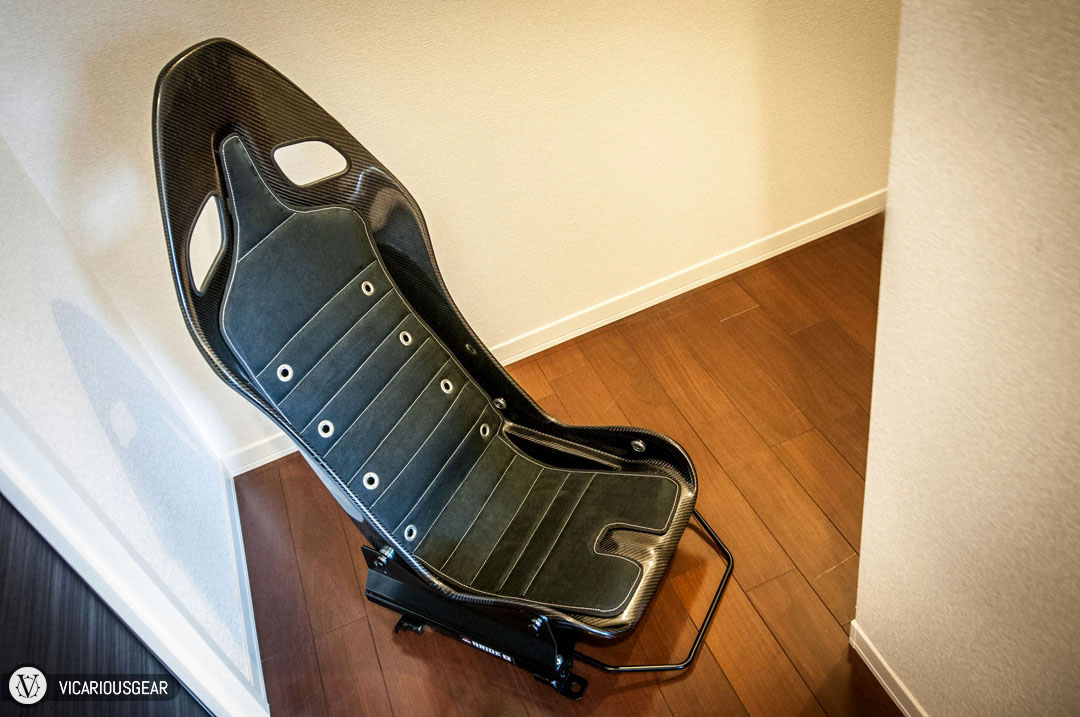
Modified Compositeworx seat, mounted to Bride FO rails.
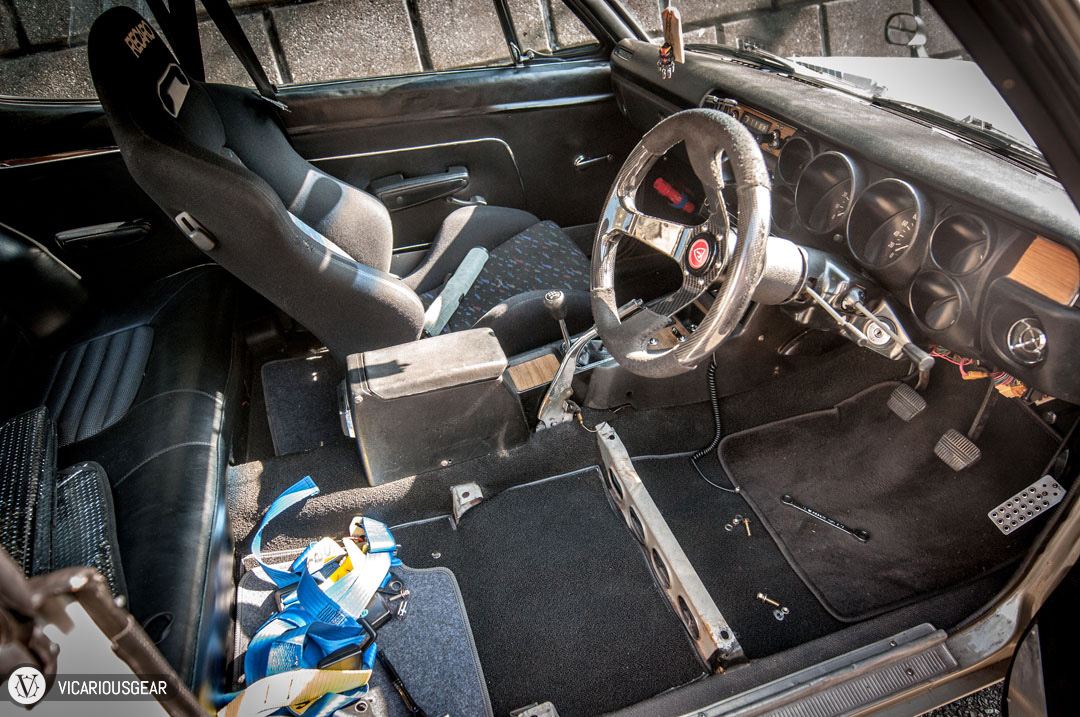
Drivers seat and dangerously mounted Sabelt harness removed. I’m happy to be rid of that harness for sure.

Quick snapshot after a spin in the seat to test the mounting angle. Fortunately, I drilled the holes in the right spot.
