
I’ve been a bit sidetracked by all my projects as of late and neglecting to post. One such project that has consumed a bunch of my time is the design and fabrication of new pillar vents for the Skyline (ongoing since December 2013).
The majority of the trim on the car was in pretty good shape when I purchased her but, being 44 years old, it had a few pieces that needed attention. With such a prominent location on the wide C-pillar, these vents/badges with bubbly pitted chrome and poor paint job needed to go.
Because replacements are so expensive, I decided to spend that money productively and make my own versions while learning new fabrication skills along the way. Below is the experimentation/build process and the final product which I happily installed today.
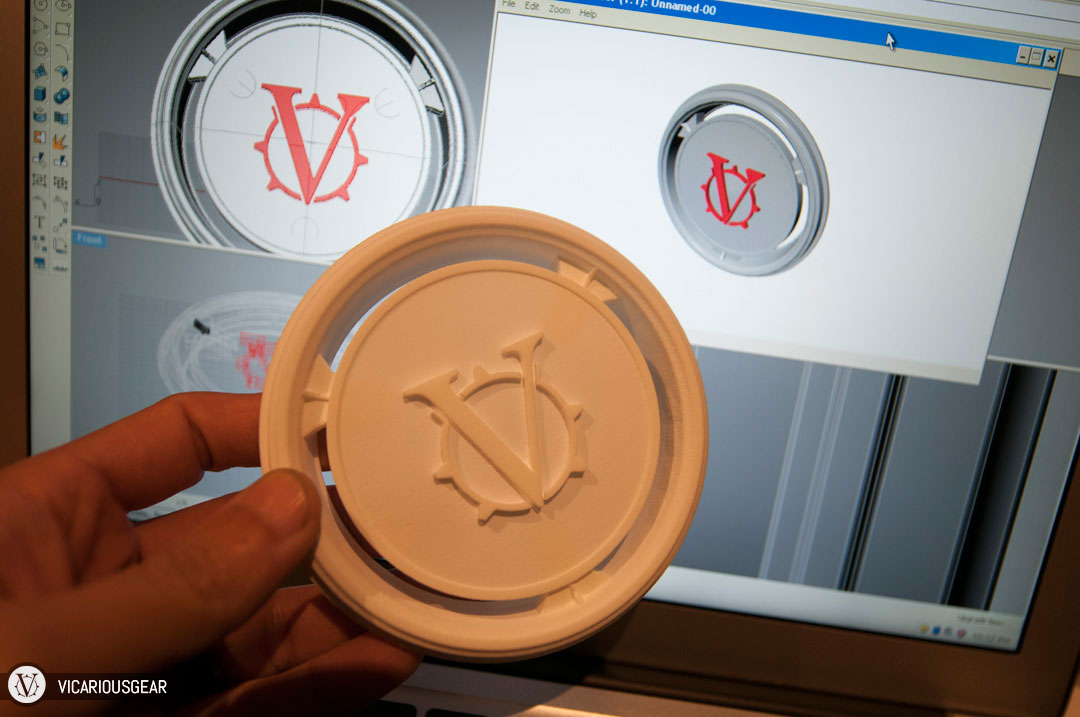
Like many of my recent projects, this one started out with experimentation in rapid prototyping technologies. This first design was done in haste and only served to test the printing accuracy and overall dimensions before committing to more expensive metal pieces. Nevertheless, it was exciting to have a solid piece in hand!
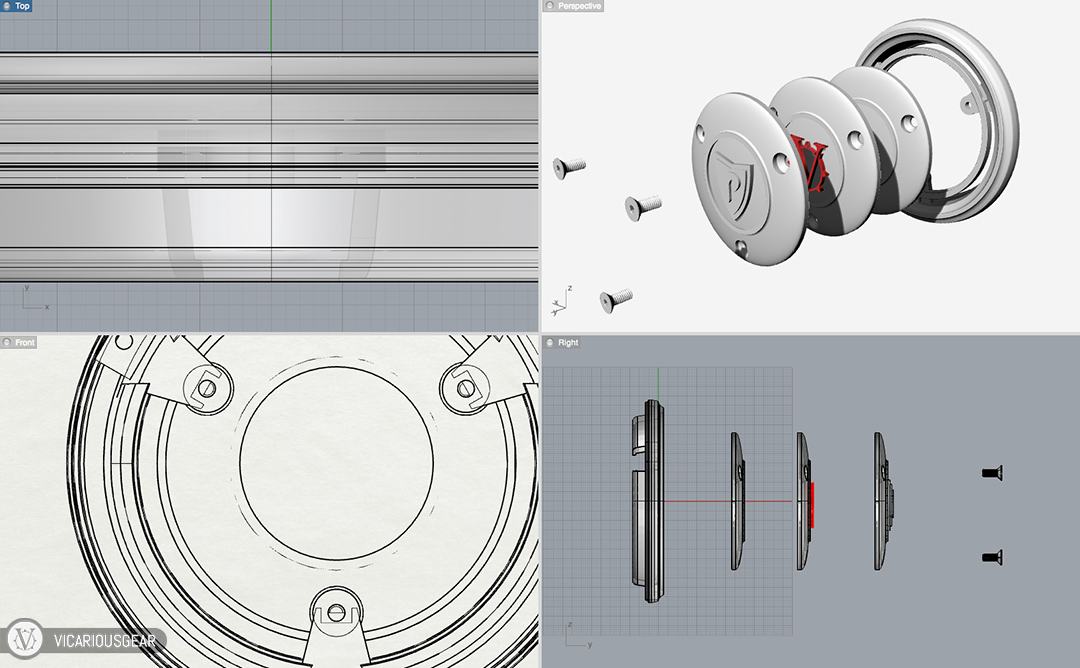
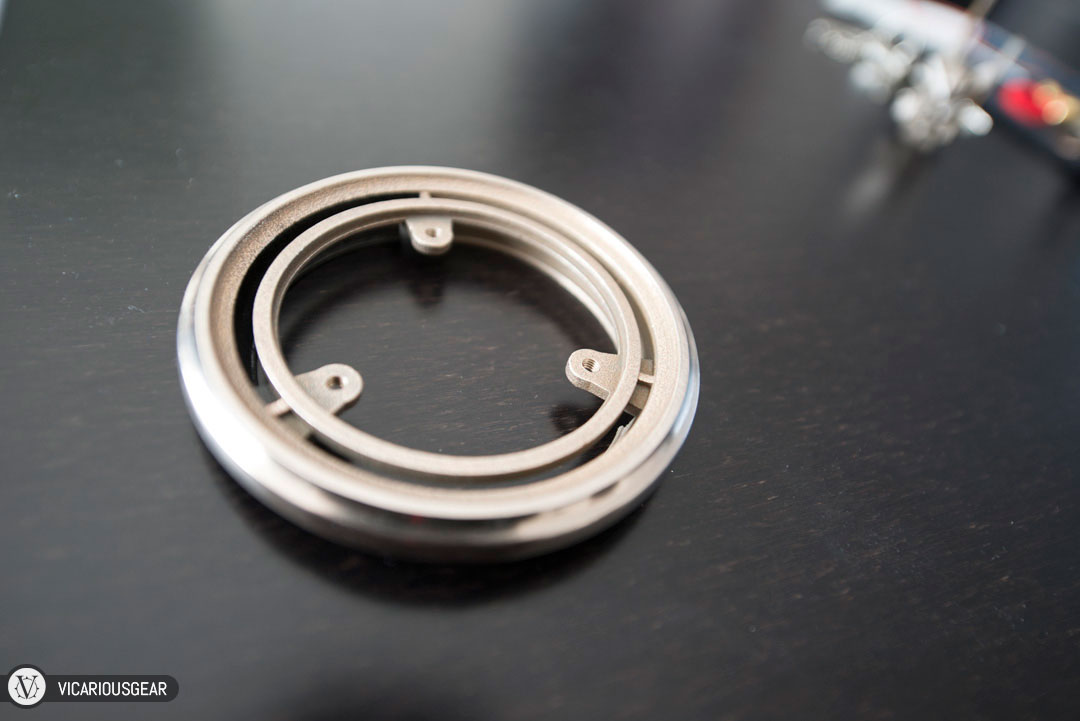
After confirming that the dimensions of the plastic print would fit, I went to work cleaning up the design for the limitations of stainless steel. It was at this point that I decided to make the outer ring and center cap in two pieces (so I could swap centers at whim). After all, variety is the spice of life.
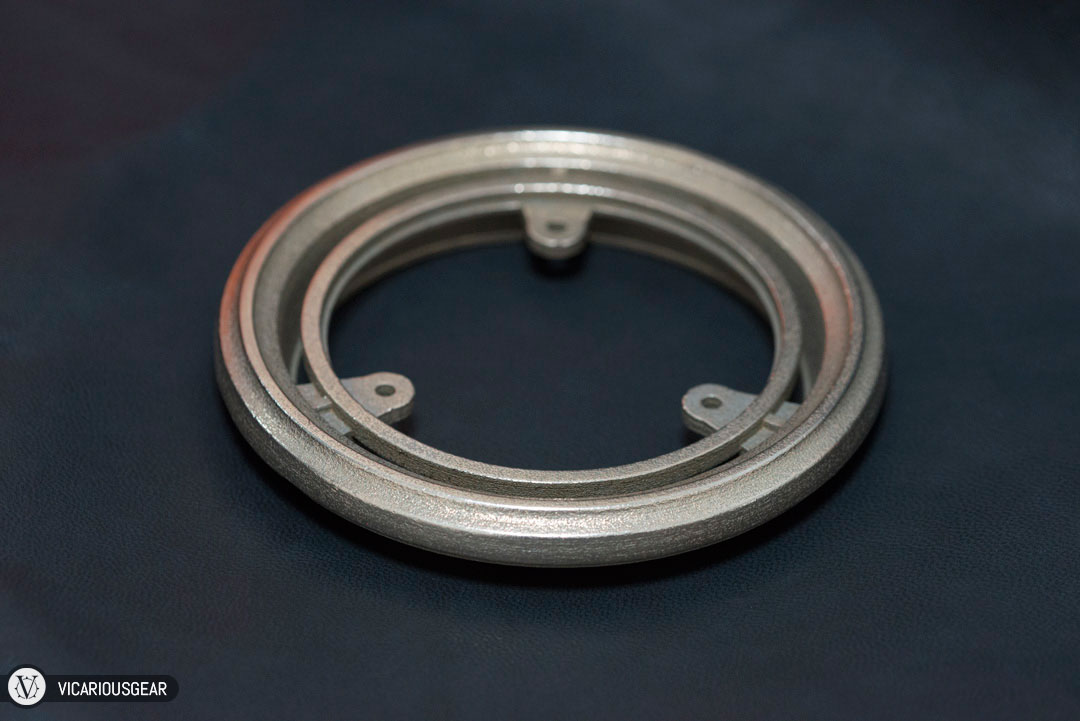
This is the raw stainless steel outer ring before any finishing work.
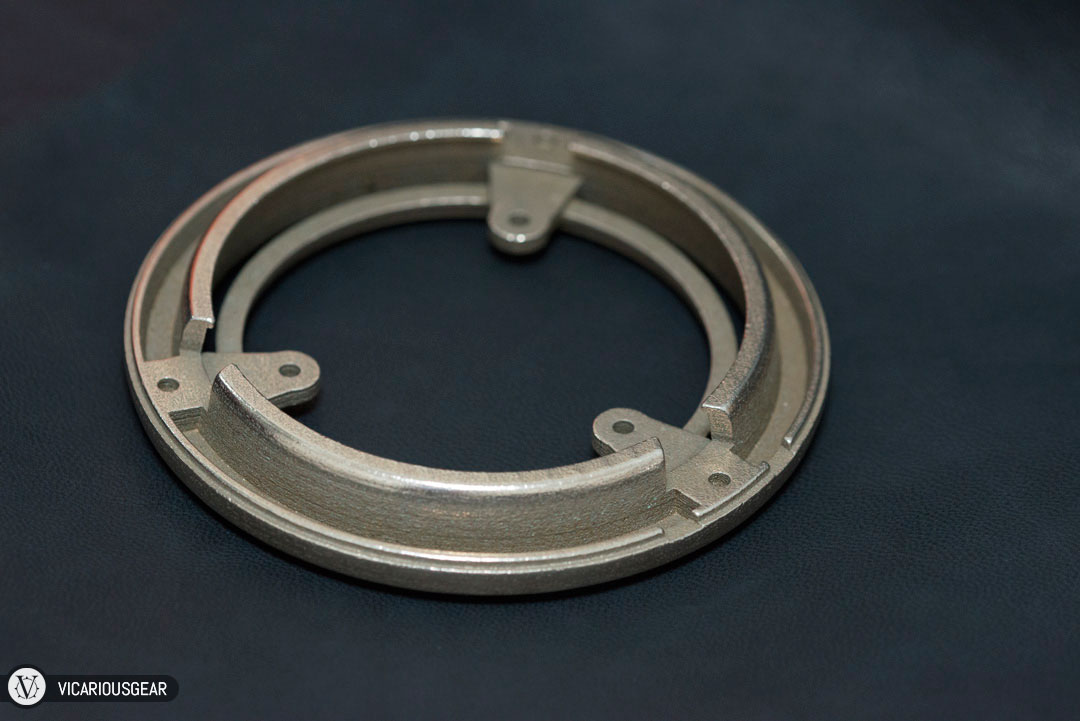
I had lots of machining, filing, polishing and paint work ahead of me.

The various parts all together. Clockwise from upper left: White plastic prototype, stainless ring, red plastic center caps, original “S”vent.
The first thing I tackled was polishing the outer ring and tapping the mounting holes.
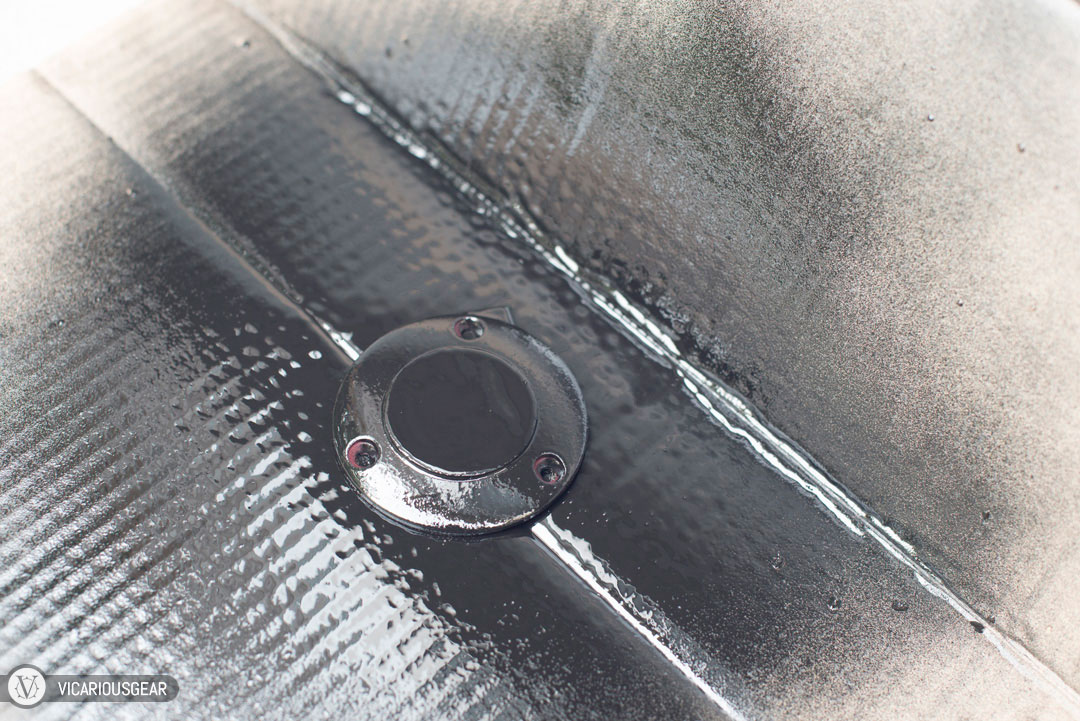
Next up was the VicariousGear center cap in paint. I decided to spray directly on the untreated print surface to see how it would turn out.
I liked the textured look so decided to proceed.
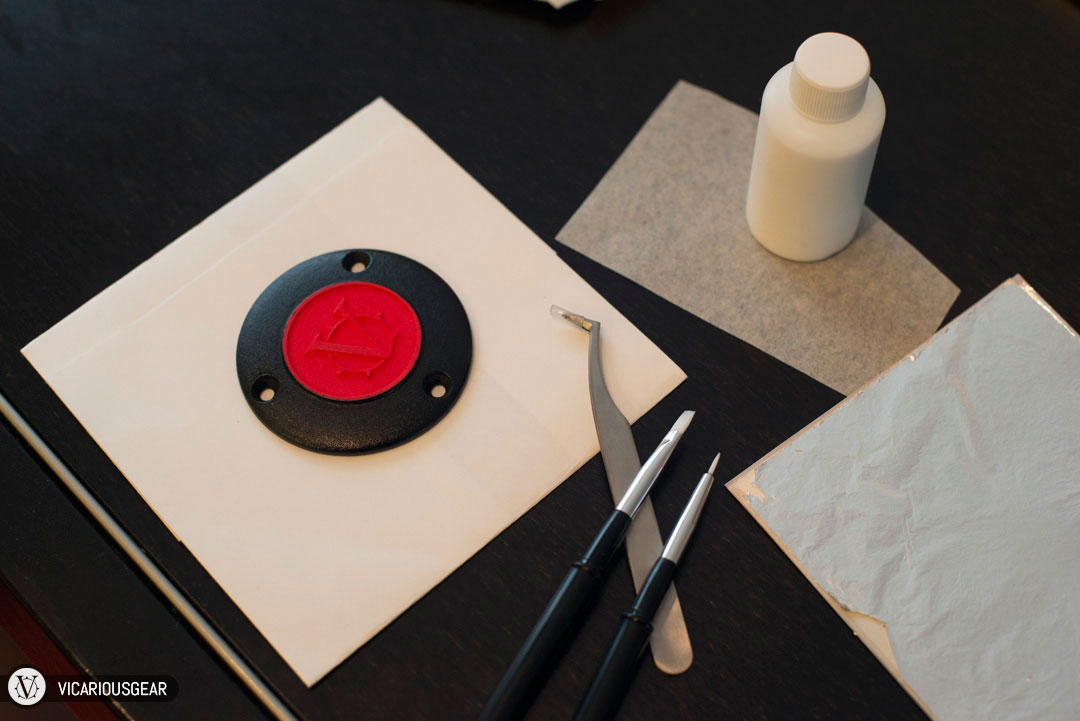
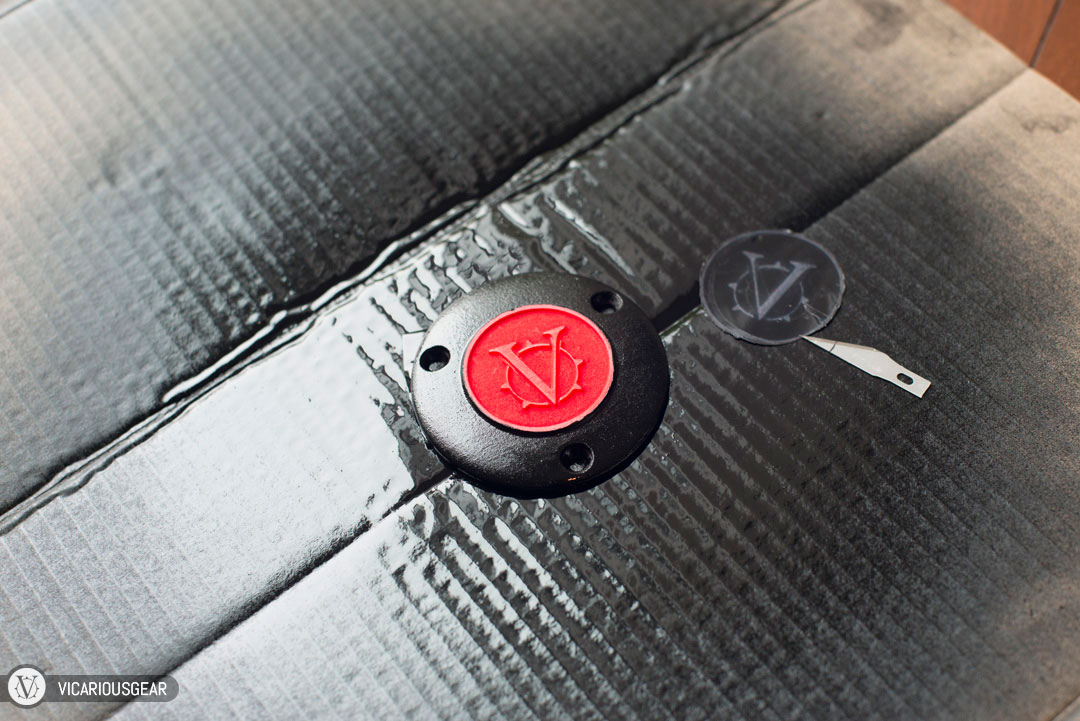
After painting came a technique I just started to learn about called gilding. I decided to use silver leaf and the gilding process to make the logo really shine. Another reason I decided to do this is because I have been trying to integrate some Japanese traditions into my fabrication choices.
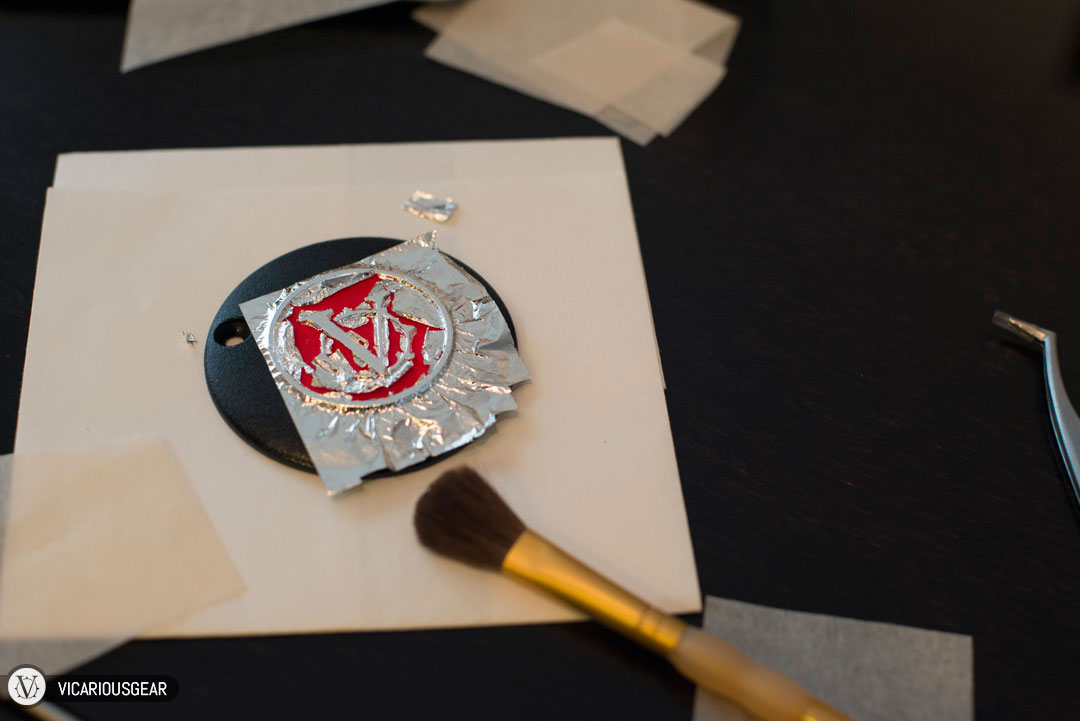
After painting on an adhesive (called “size”) onto the areas where you want the foil to adhere, a super thin silver leaf is placed on top.
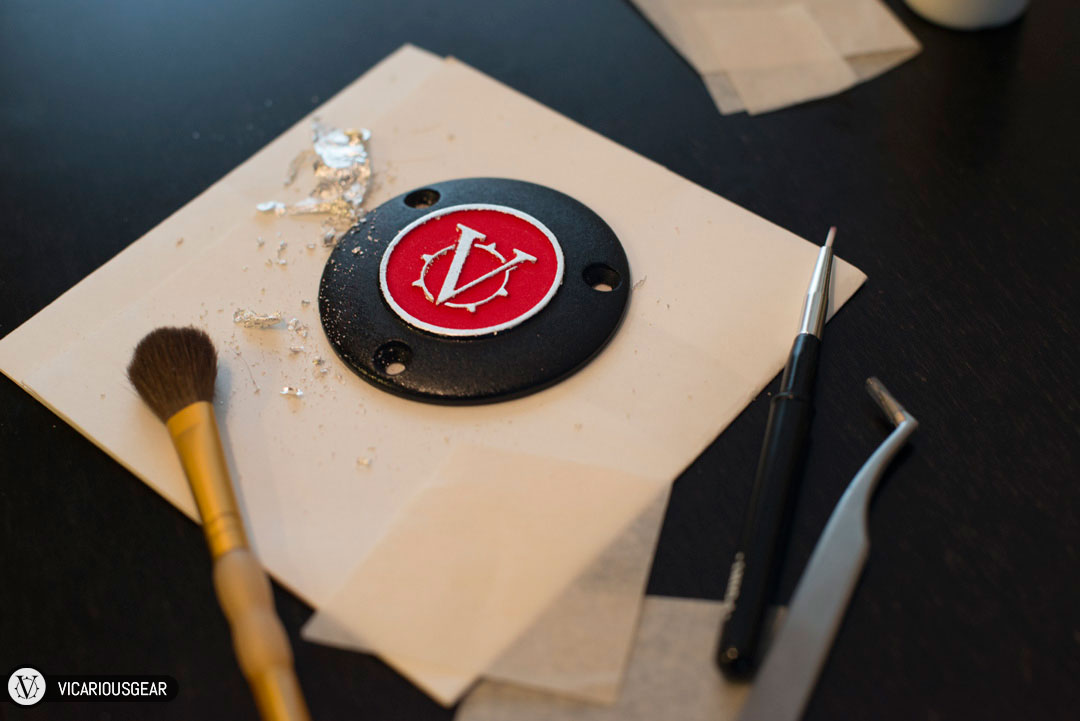
The silver is so thin that any spots that aren’t glued will brush away. Multiple layers were required to really bring out the metallic sheen.
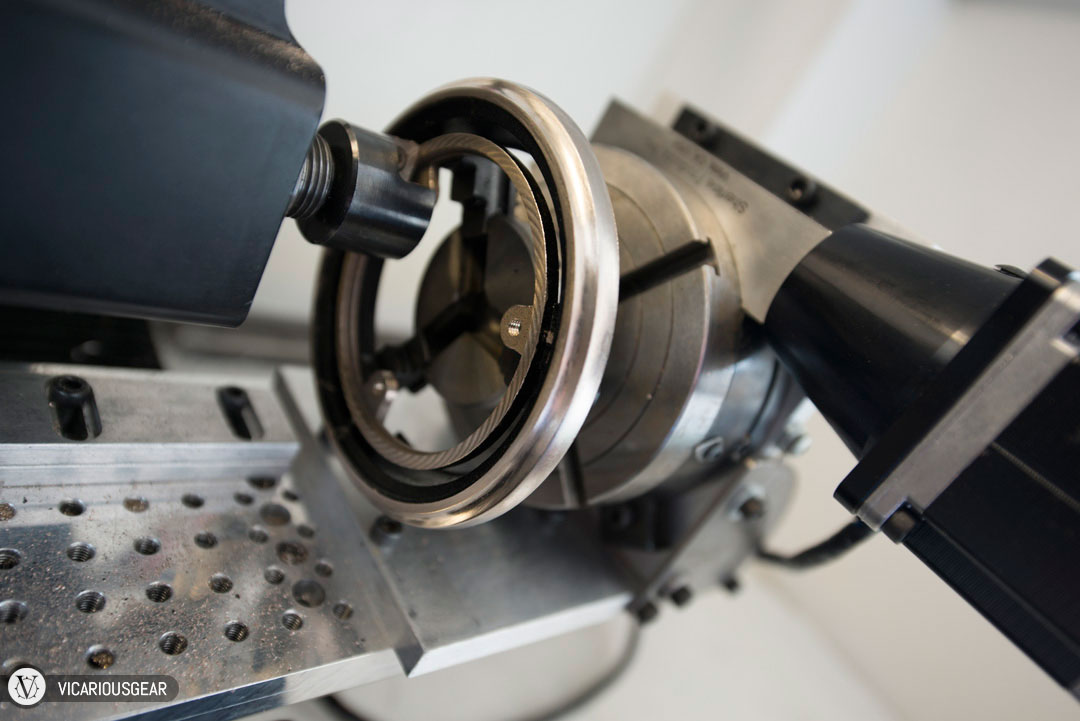
After completing the first center cap, the outer ring received paint. Then it was thrown onto the rotary table of my CNC mill for some fancy finishing cuts.
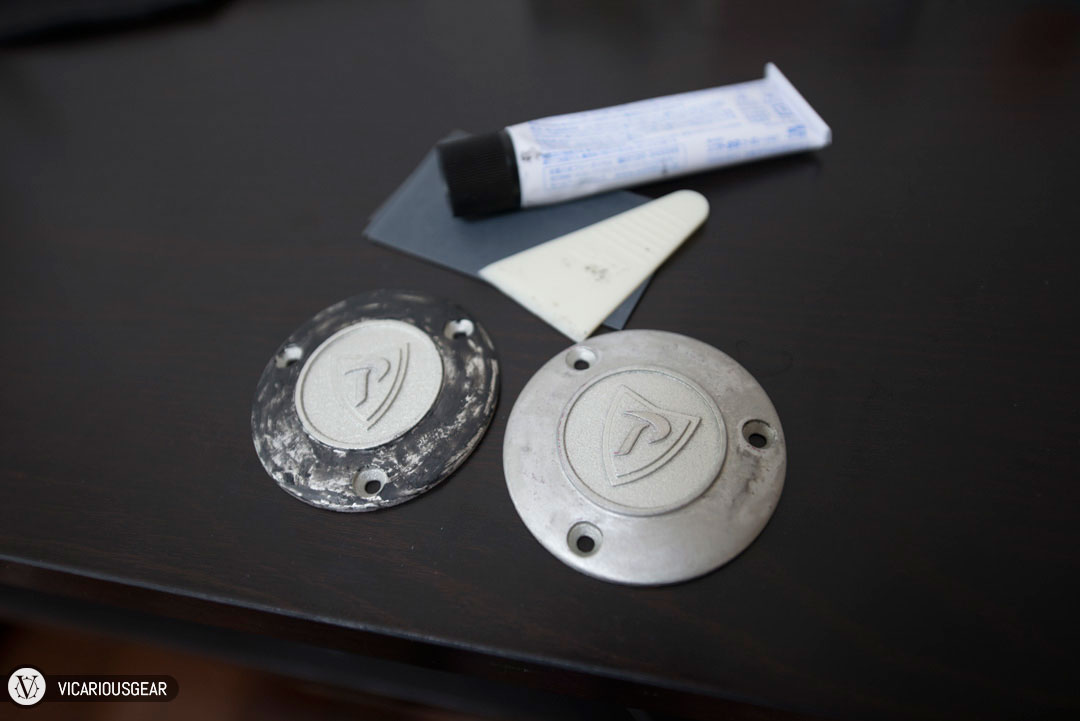
Since the other cap was done with a textured finish, I decided to make the one with the Prince logo smooth. Automotive body filler was applied and sanded down over a few base coats of paint.

Then once I was happy with the prepared surface, a couple thick coats of paint were applied. Finished surface on the left and cap with rough body filler on the right. I decided to paint this one to match the exterior color of the car.
Today was finally the day for installation. Goodbye pitted chrome!
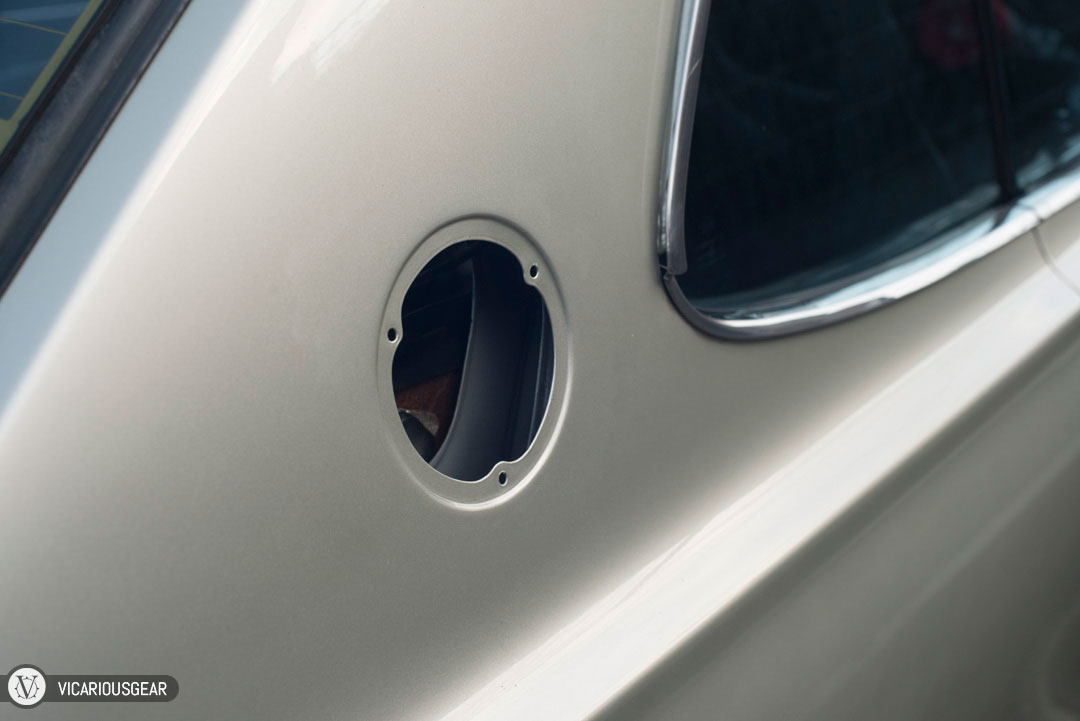
I was relieved that I found an extremely clean mounting surface after removing the original pillar vent/badge.
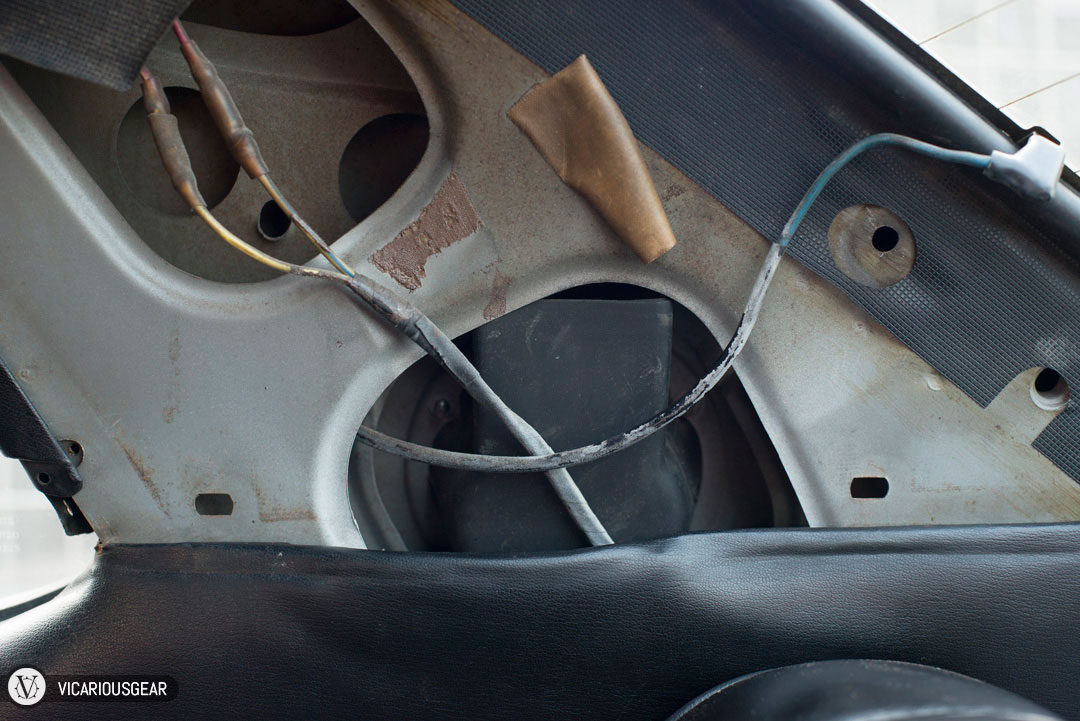
Here is a look at the mounting nuts and rubber seal from the inside of the car. Relatively easy access.
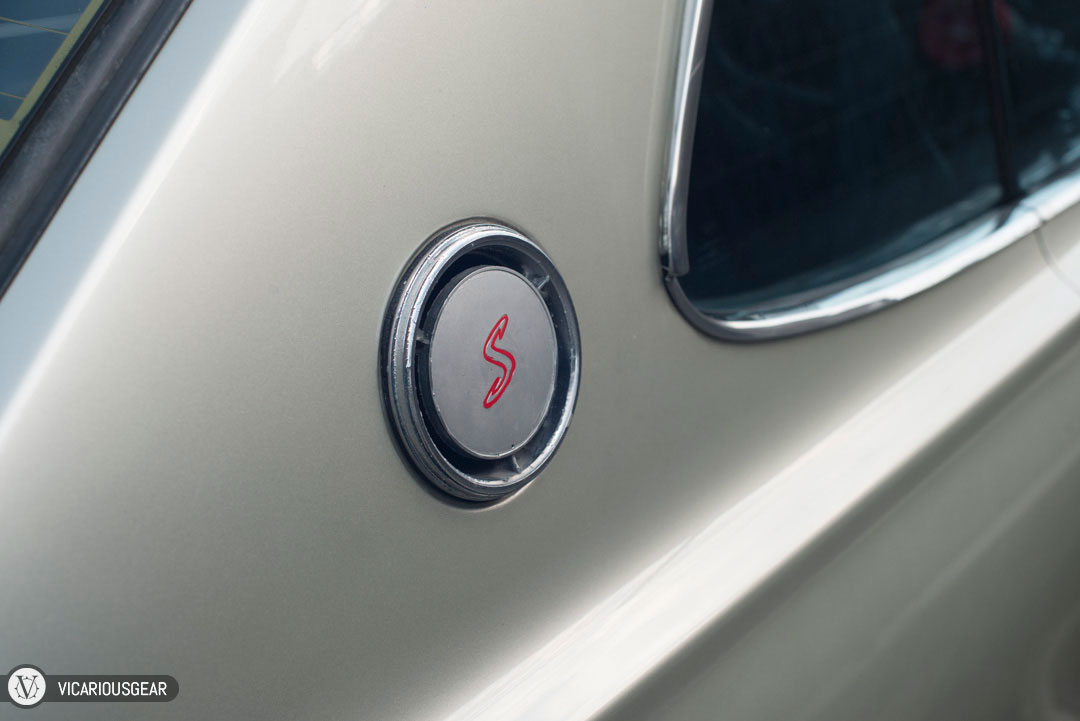
First up was my favorite, the VicariousGear cap.
I purposely left the red plastic translucent so I can play with illuminating the logo from behind.
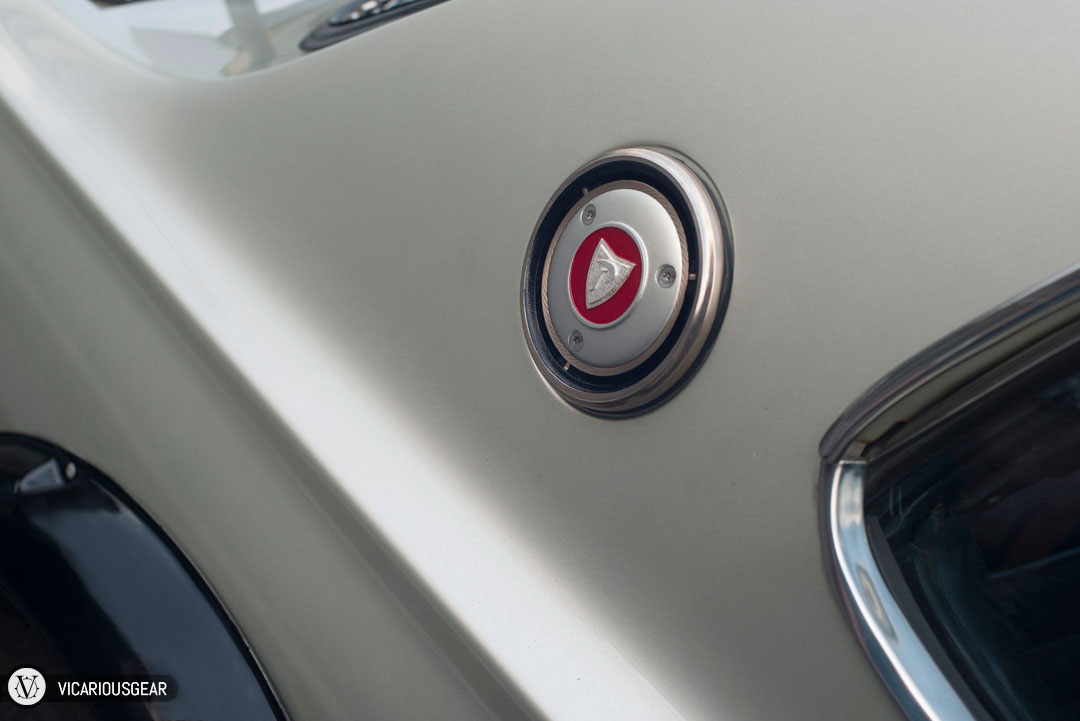
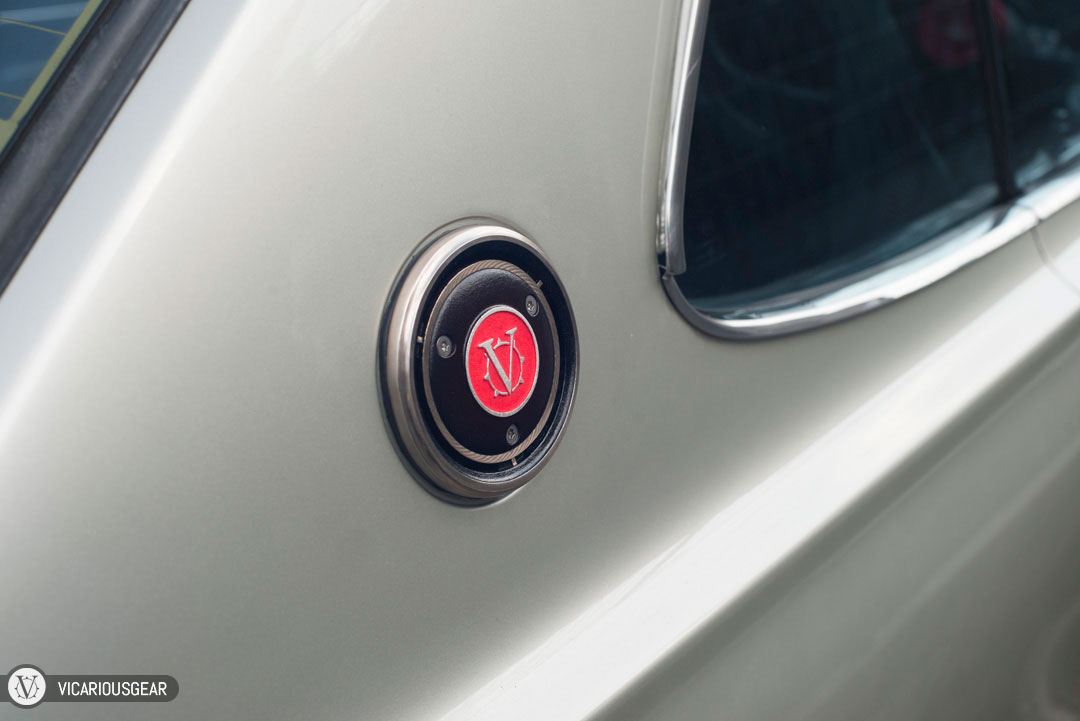
The finished Prince center cap with silver gilded logo and red enamel.
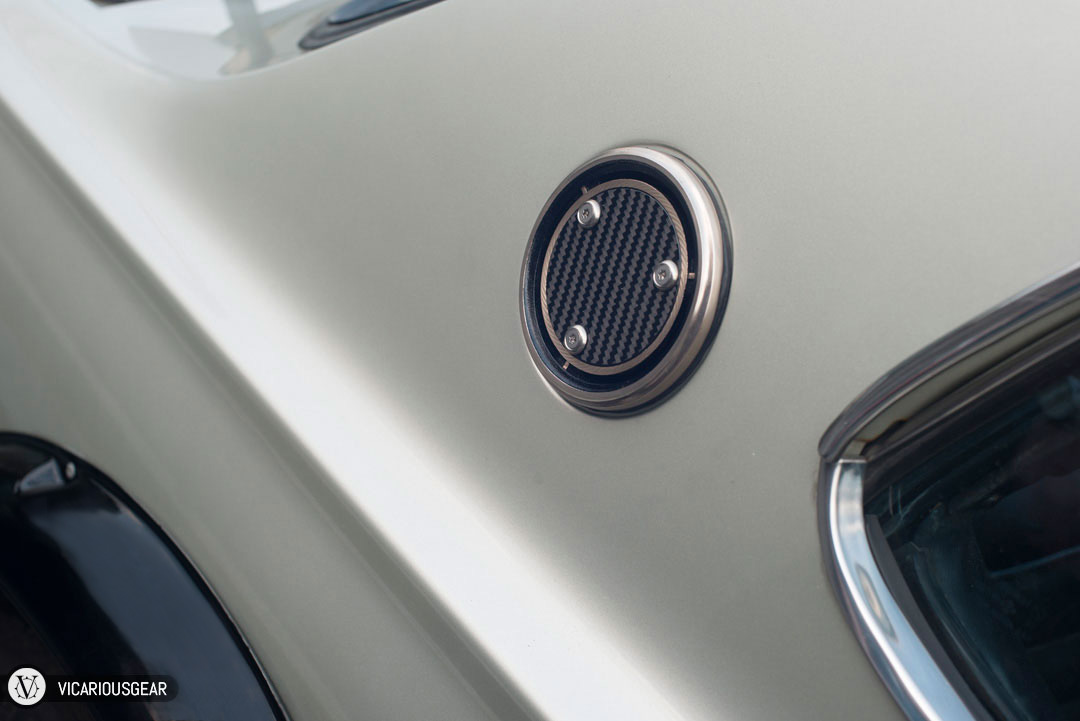
I had some carbon fiber lying around so I cut out some disks as another option. I may use these as the day-to-day center cap since they aren’t as delicate.
